Pre-Installation Server Setup (Vultr)
§ Creating The Server on Vultr
This walkthrough goes over creating a Linux server on Vultr. This is not required for hosting Perforce (several alternatives are listed in the beginning of admin setup). I am not sponsored by Vultr or any other VPS, it's just what I have been using and what I am comfortable with.
- On Vultr, create a new server with the following settings
- Cloud Compute plan
- Intel Regular Performance (or other plans you prefer)
- Location in the closest place to you / your team
- Ubuntu Image with the latest LTS version
If you intend to setup Helix Swarm, check out their compatible Linux distros which should contain a Ubuntu LTS version. The walkthrough will not include Swarm and will go with the lastest LTS (as of writing, newest is version 22 but Swarm prefers version 20).
- Select a server size based on
- Your team size: the more branches you create the more duplicated files there will be
- Your project size: how much space do you anticipate your project files to be, excluding IDE/compilation-related binaries and builds
- How big your system image is (subtract it from the overall size)
- The walkthrough chooses the minimum 25GB plan because it's aiming for a small project
- Optional: Auto Backup
- This is only relevant on the server level
- You don't need server backups if you bother to redo installations after every crash and always transfer Perforce backups to your own local storage
- This cost typically scales with your server size
- The
Additional Featurescheckboxes do not really matterNo Public IPV4is not recommended unless you have a personal domain or wants to only use IPV6. The process for IPV6 should be similar to the IPV4 ones used below.
§ Optional: SSH Key
If you choose to complete this section, do it before deploying the server. Vultr technically allows you to go back and edit SSH later, but
- Changing the key itself will not actually reflect on the deployed server
- Adding/deleting/editing keys on the server will wipe out all data Having SSH keys are preferred for reasons below
- There is an option to add SSH Key when creating the server
§ OpenSSH
- Open Git Bash or other shell with
sshsupport (ex. Mac builtin Terminal) and check that you havessh-keygeninstalled by runningwhich ssh-keygen- For Git Bash on Windows, SSH Agent needs to be configured following this article
- configure the shell profile as written in the article, then run
ssh-add /path/to/private/key ssh-addwill prompt for passphrase for once
- configure the shell profile as written in the article, then run
This worked fine the first time, but I had to type in the passphrase every time after restarting the computer. Ideally you will not need to log in to the server that often so not remembering your passphrase is not that much of a problem.
- For Git Bash on Windows, SSH Agent needs to be configured following this article
- Navigate to a folder you want the key to be in (or right click Run Git Bash Here from that folder if your local installation of Git enabled that feature) and run
ssh-keygen -t ed25519 -C "name@domain.com"substituting with your own user - Follow the steps and two files will be generated
keyname, the private keykeyname.pub, the public key
§ PuTTY (Windows)
- If you want to log in to the server later with PuTTY instead of SSH, use PuTTY keys instead of OpenSSH keys
- Use PuTTYgen to produce the key instead, steps are similar but the key formats are not interchangeable
§ Uploading the Key
- Back to Vultr...
-
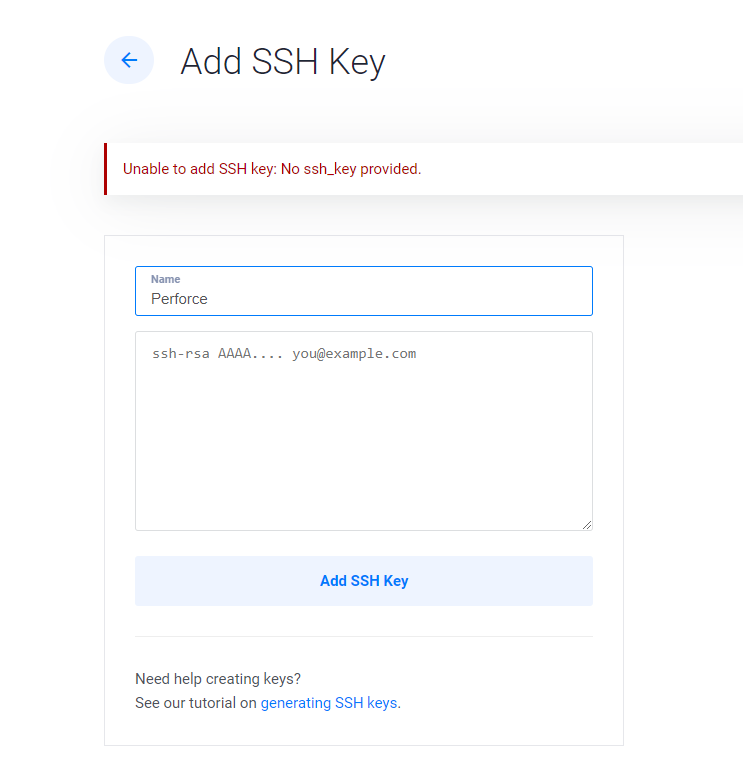
Copy the content of the PUBLIC key (NOT THE PRIVATE KEY!) into the textfield and Add SSH Key
-
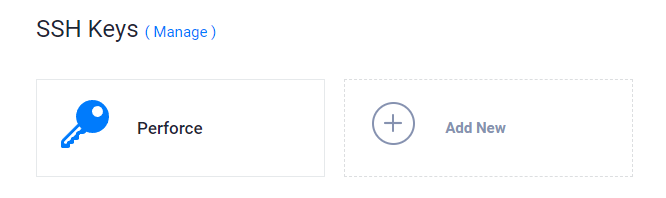
After that, the site should redirect back to server creation screen, with your key added
-
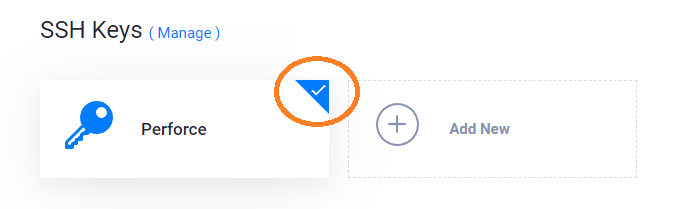
CAREFUL: click the key again until there is a checkmark appearing at the corner, otherwise it's not actually registered! I had to nuke the server after finding out about this the hard way
-
-
§ Finishing The Setup
-
Click
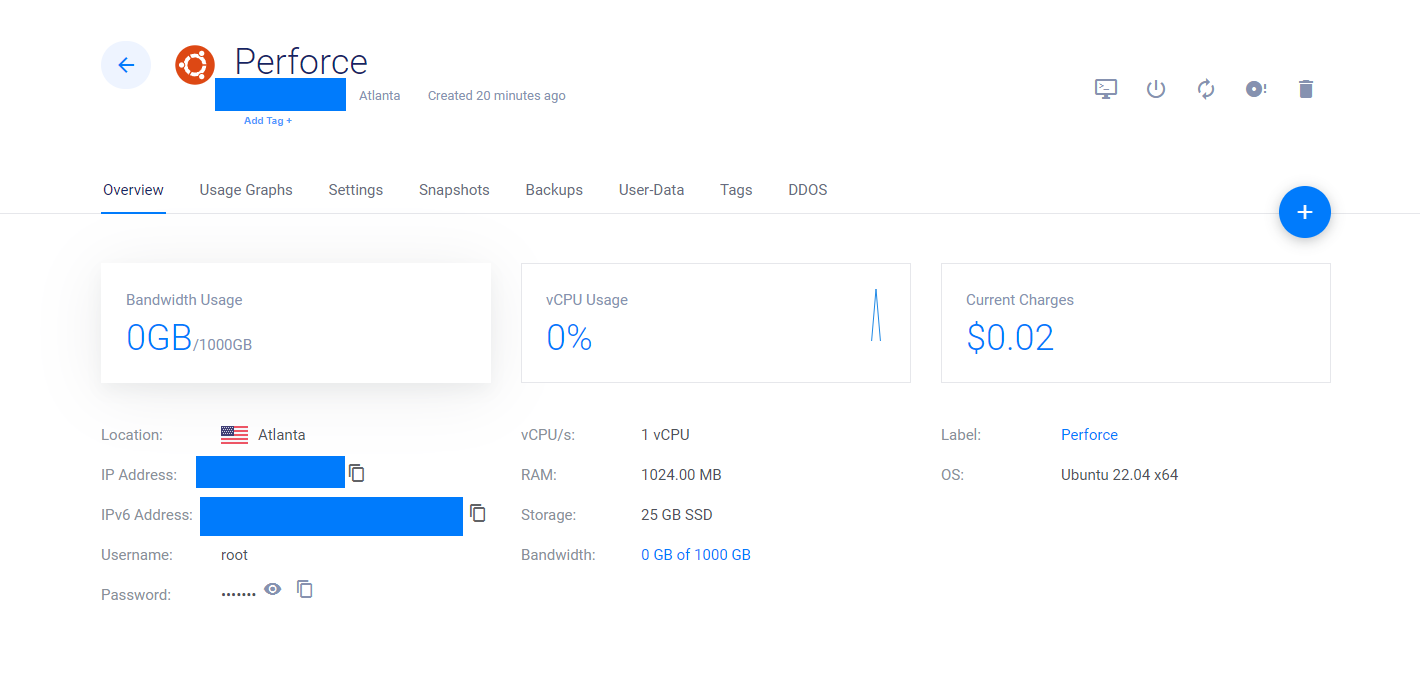
Deployand wait until the server instance status sets toRunning -
Vultr will setup a
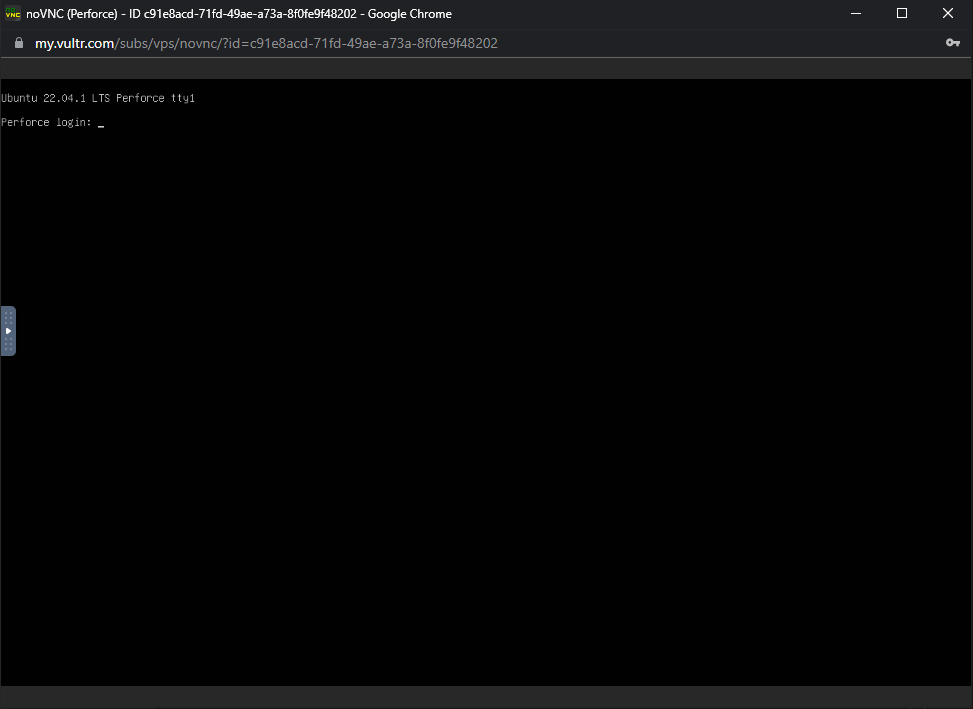
rootaccount with some password, which you can log in as- Click the laptop icon on the upper right corner to open commandline, fill in the credentials to enter the server
-
Note: typically the server will spend some time setting itself up. When the server is actually ready it will show this in the commandline instead of cloud init logs
-
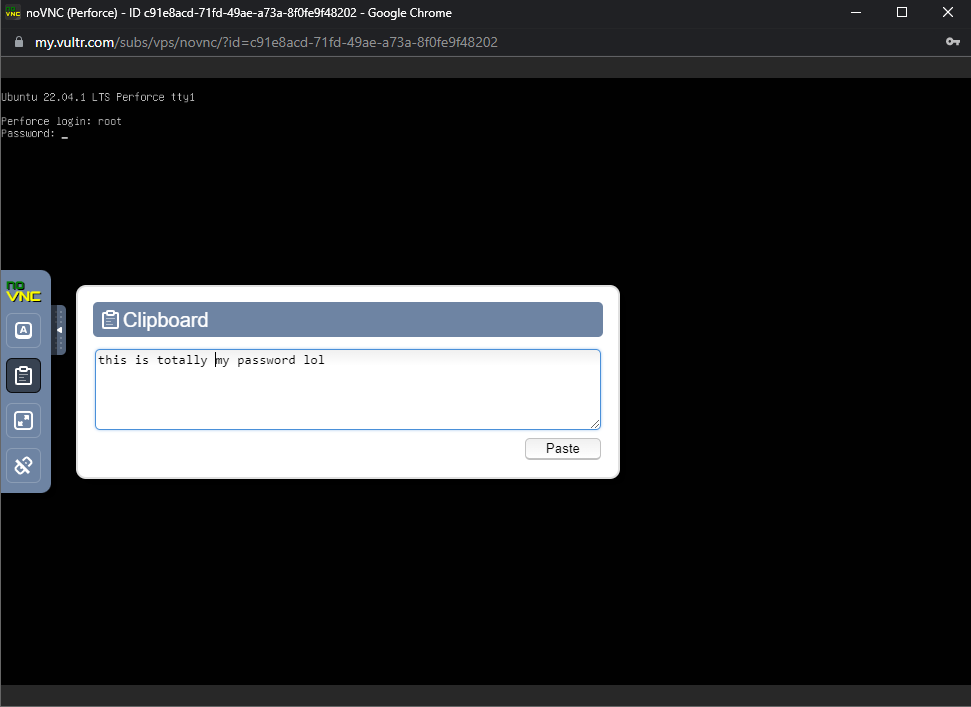
If you want to paste the password in the commandline, your computer's shortcuts will not work. Instead you need to open the VNC menu and edit the clipboard content yourself
-
- Click the laptop icon on the upper right corner to open commandline, fill in the credentials to enter the server
-
Congrats, you now own a server!
§ Optional: Changing Your Password
- You can complete this like changing password normally in any Linux setup, as long as you are already logged in as root
- CAREFUL: Vultr does not keep track of the updated password, it will always show the initial password on the website
§ Optional: Logging in Without Vultr Website
- No more VNC!
- Open Git Bash (or the builtin commandline for Mac users) and type
ssh root@<your IP or domain>- If you have a private key setup already, add
-i /path/to/key, you will need to type in the key passcode - Otherwise, type in your password to the
rootuser as shown on the Vultr dashboard
- If you have a private key setup already, add
§ Optional: Connecting to Custom Domain
- If you bought a domain name from somewhere like Porkbun, you can hook it up to the Vultr nameserver which connects it to the IP of your exact server instance
-
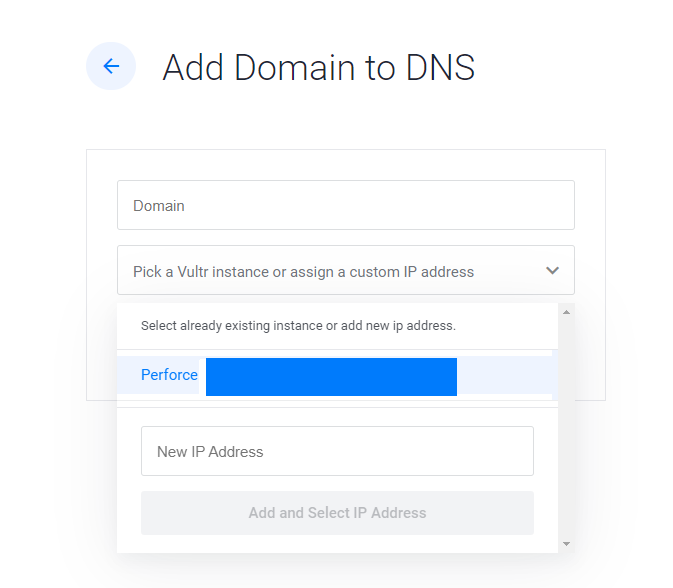
To allow Vultr to resolve a domain name to server instance IP, navigate to the DNS tab and add a new domain selecting your instance to autofill IP
-
Follow instructions from where you bought your domain to change the nameservers to
ns1.vultr.comandns2.vultr.com
-
- If you already have a domain but want to rewire it to the Perforce server instance
- First navigate to your server instance and copy the IP
- Navigate to the DNS tab to edit the domain
- Replace the old IP in the
Afield with the new IP
§ Alternative: Subdomains
- Why?
- You want to keep the main domain for something else instead of just Perforce
- You're running the server instance solely for Perforce and want to clarify that in the name
- This is different from just separating Perforce traffic and normal site traffic, which is already done when configuring Perforce with the 1666 port (by default)
- If you want to configure the server for a specific subdomain like
perforce.yoursite.cominstead ofyoursite.comin general- First navigate to your server instance and copy the IP
- Navigate to the DNS tab to edit the domain
- Add
perforceto theNamesection of theAfield with the new IP - Try logging in as
root@perforce.yourdomain.cominstead ofroot@yourdomain.com
§